Creating your first Virtual Reality experience 101


While Tellick Experience can be used to create more sophisticated VR experiences, creating your first VR experience can be simply combining and sharing VR180 photo's. It's the simpelest form of a VR experience, which can be achieved with just a few clicks.
For our experience, we took two photos at the Dutch Innovation Factory. One at the entrance and one inside. The goal is to transition between the photos after a timer of 5 seconds.
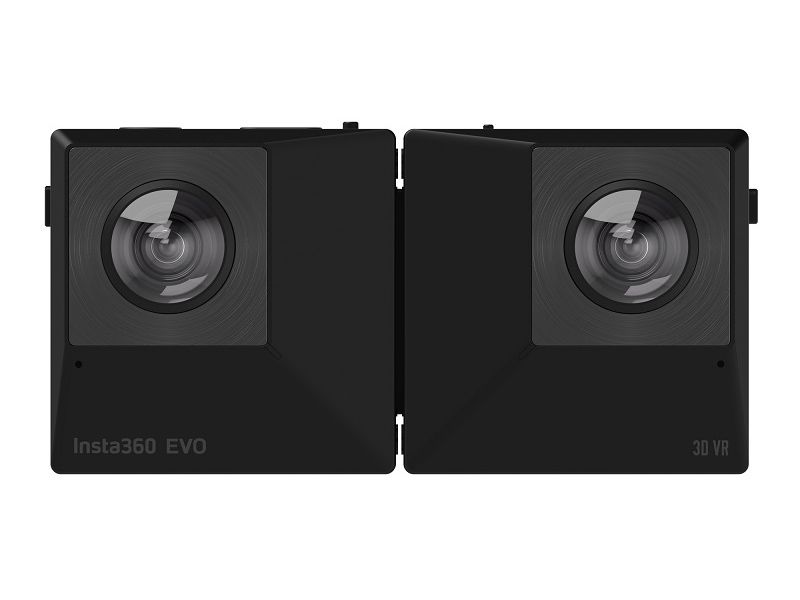
We used an Insta360 EVO camera. While there are better VR camera's available, this one is a lot of value for money and fits the job perfectly. The camera features two 180 degrees lenses and two image sensors. The lenses are, not by change, as far away from each other as the human eyes are. This results in a stereoscopic image the resembles the scale that we're used to as humans.
The camera can take still images or video in as high as 5K resolution. You can transform the camera to a 360 degrees camera, although then you lose the steroscopic effect. Since that effect is not as important for large landscapes or sky photography, that mode is perfect for that.
So let's make our VR experience.
1. Create a new experience
To start off, we navigate to the creator dashboard by clicking create in the navigation, and then click Create new experience. After that you choose a name for your project and click save.
2. Adding images to the canvas
We want to transition between two images. So we add the images to our canvas by dragging and dropping the Image scene to the canvas. By clicking on File you open the media chooser, letting you choose the images you took earlier. You choose the file you want to add to the scene and click Select.
3. Transition between the images
To transition between the photos after some time, we drag and drop the Timer transition to the canvas. By default, a timer is set to 5 seconds, but you can change it to anything. To connect the first scene to the tranition, simple click the little circle on the right of a scene and drag a line to the transition. Do the same thing for connecting the transition to the second scene.
4. View and share your experience.
When you're done, you can preview your experience by clicking Preview. Or you can find your experience on your creator page. To make sure your experience is visible for everyone, click Details next to your experience name and set the Visibility to Public. Now you can share your link. Anyone with a VR Headset and a VR browser can now follow that link and view your Experience over the web, fully immersed.
Conclusion
This technique can be used to create tours through campusses, museums, art galleries, homes or historic places. It can also be the basis of VR training or VR storytelling. You're the creator, so we're curious what you can come up with.
To get started today, simply go to https://experience.tellick.com and send us an email on previewprogram@tellick.com to get your preview account activated. Read https://blog.tellick.com/opening-up-the-tellick-experience-preview-program/ to learn more.